Welcome to Do It Right, a series where we cover essential fitness skills that everyone should know. From deadlifts to squats and beyond, each Do It Right post calls on expert advice to help you learn something new in the gym.
The Skill: Bicep Curl
In this post, we’re covering how to do the basic bicep curl. For simplicity’s sake, we’ll use dumbbells, since they’re what most people will have access to in a home gym setup. (Compared to barbells, they’re also friendlier to joints.)
The Expert
Lee Boyce, Toronto-based strength coach, speaker, owner of Lee Boyce Training Systems, college professor, and internationally published fitness writer. When it comes to upper arm training, I’m no slouch.
What You Need
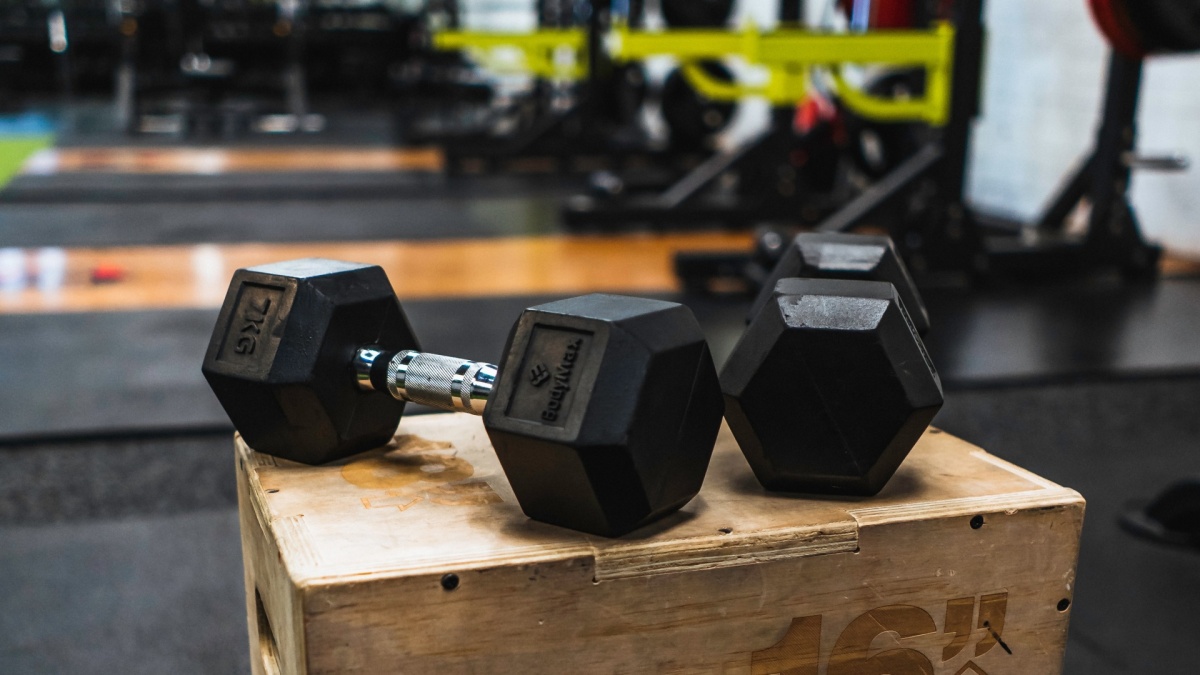
A pair of dumbbells—and not the heaviest pair. You don’t want to load up on weight before mastering the proper bicep curl technique. If you want your biceps to grow and get a great stimulation through this exercise, less is often more.
How to Do It
- Get your stance right. To start, keep the feet planted between hip- and shoulder-width apart. It’s OK to bend the knees. Hold a dumbbell in each hand with arms fully extended down, and keep the palms turned out away from the body. From this standing position, it’s pretty easy to slouch—don’t let that happen. Pull the shoulders back, keep a proud chest, and stand at attention with straight elbows while holding the weights.
- Focus on your grip. Here’s a tip with dumbbell bicep curls: Where you grasp the handle will dictate how hard your biceps will work. An underrated coaching cue is to hold the dumbbells toward the outside edge of the handle (so that the weight is forcing your hand to turn inward toward the body). This will place more stress on the short head of the biceps muscles and supercharge each curl.
- Break the wrists. What this means is simple: Allow the wrists to slightly extend the second you move the weight away from the floor. As the weight ascends to the top position, the palm will be leaning slightly forward.
- Mind the elbows. A common mistake when performing a biceps curl is to draw the elbows back behind the body as the weight moves up toward the top of the lift. This reduces the amount of mechanical tension that is placed on the biceps. Instead, focus on keeping the elbows beside—not behind—the body. As the weight comes up, it’s OK for the elbows to move forward a couple of inches.
- Curl and squeeze. Applying all the cues above gets you to the top of the rep, but people often drop the ball by abandoning their focus on intent. Squeeze the snot out of your upper arms by gripping tight on the dumbbell and flexing hard. Remember: Your range of motion doesn’t need to be all the way up to the shoulder. You only need to go far enough to get your biceps to fully contract. This may mean you finish a couple inches shy of shoulder level, and that’s fine.
- Pace yourself. Biceps curls are easy to grip and rip without attention to detail. Your pacing controls how tough the curls will be. Think about using a tempo of one second up and three seconds down for each rep, and you’ll notice just how taxing a dumbbell curl can become.
For best results, try using an alternating dumbbell curl. Hold a weight in each hand but curl them one at a time. Maintain the technique cues above and use proper posture and tempo on both sides. While curling one weight, hold the other with your arm fully extended downward.
Compared to curling both weights at the same time, this approach will make the set last longer and increase the time your muscles spend under tension. Long story short: You’ll be holding heavy weight for longer, which can contribute to better muscle growth.
Comments are closed.